Toyota Camry: How to Replace Brake Pads, Calipers, and Rotors
Proper brake system maintenance is key to the Toyota Camry's safety. While regular brake fluid flushes and brake pad replacements will typically sustain brake performance, severely worn rotors or a frozen brake caliper can cause undesired and potentially dangerous vehicle operation.
This article applies to the Toyota Camry (1997-2011).
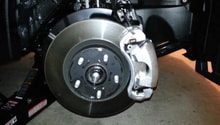
The brake system is considered by many to be the most important system on the Toyota Camry. Components of the brake system are regularly used day in and day out to bring the vehicle to a halt. Heavy stop and go traffic or regular high speed stops are especially taxing on brake components. While it is common knowledge that brake pads are wear items that regularly need replacing, brake rotors and calipers can also wear and eventually need servicing. If you have been noticing a pull to one side or pulsation in the brake pedal while braking, there is possibly an issue with the brake rotor, brake caliper, or even both. Fortunately, replacement brake parts are relatively inexpensive and readily available for the Toyota Camry. Whether you are performing simple brake maintenance or a complete brake system overhaul, this article will outline the replacement procedure for brake pads, caliper, and rotors for Toyota Camry models equipped with disc brakes.
Note
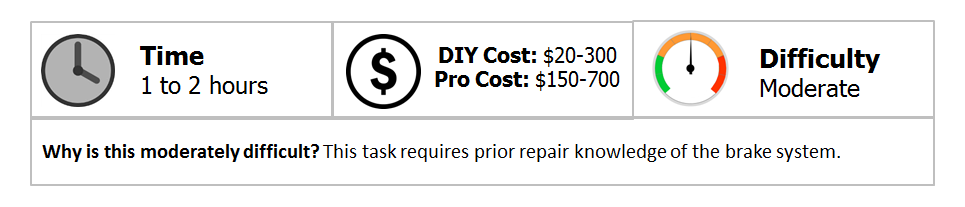
Here is the breakdown of the DIY Cost:
- Front brake pads: $15-35
- Rear brake pads: $15-35
- Front brake rotors: $32-70
- Rear brake rotors: $35-70
- Front brake caliper: $45-85
- Rear brake caliper: $40-85
- Caliper hardware kit: $10-15
Materials Needed
- Floor jack
- Jack stands
- Metric socket set
- Metric wrench set
- Ratchet, breaker bar, and extension
- Screwdriver or brake adjusting tool
- Torque wrench (100 Ft/lbs capable)
- Silicone grease
- Anti-seize paste
- Wire brush
- Brake parts cleaner
- Bungee cord or rubber snubber
- Brake fluid
- (2) Metric 8 x 1.25 bolts
It is highly recommended that brake service be completed on a per axle basis. This will ensure that the friction coefficient does not vary from one side of the axle to the other, causing braking issues.
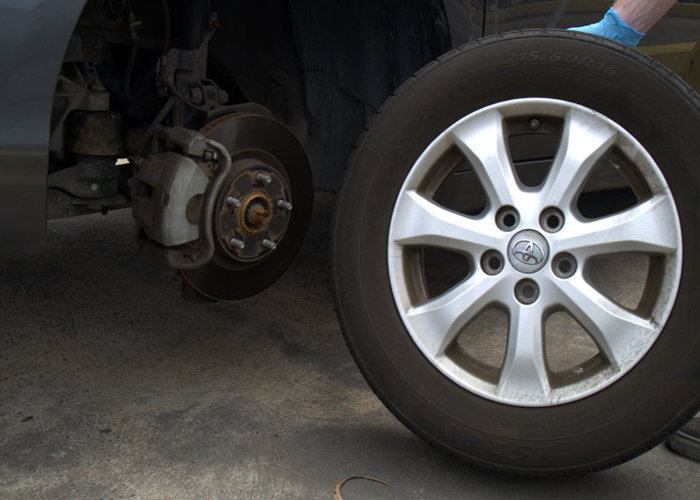
Step 1 – Remove wheels
To gain access to the components of the brake system, the vehicle must be lifted on level ground and the wheels removed.
- Using a floor jack, lift the vehicle at its specified lift points and support it with jack stands.
- Using a tire iron or breaker bar, remove the wheels. The wheels only need to be removed for the axle in which you are servicing the brakes.
(Related Article: How to Jack Up Your Car - CamryForums.com)
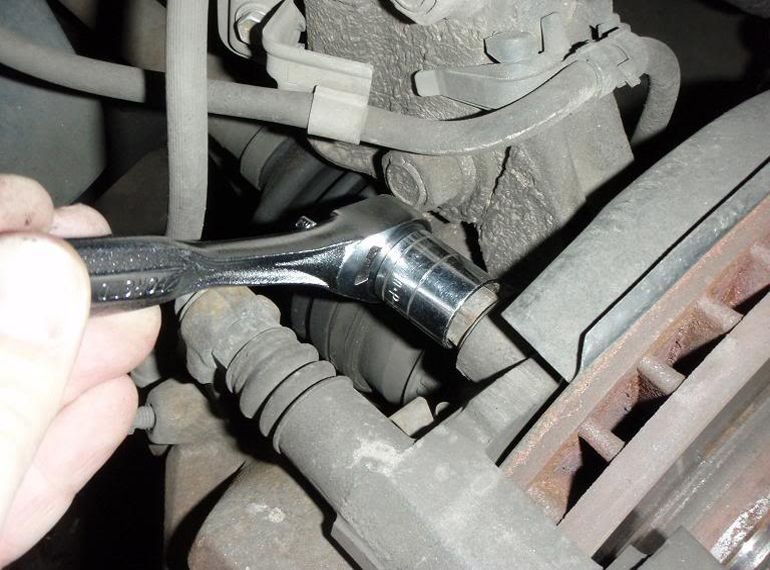
Step 2 – Remove brake caliper
Whether you are simply changing brake pads or completely swapping out all brake components, the first step involves removing the brake caliper.
- The Camry uses a two-piece caliper design in which the caliper and caliper bracket are bolted together to make a caliper assembly. Using a ratchet or breaker bar, remove the two bolts on the backside of the caliper that secure the caliper to the caliper bracket. The caliper can now be hung out of the way or set aside if it's being replaced.
- With the caliper removed, the brake pads are accessible. If applicable, remove the spring clips securing the pads in place and remove the brake pads.
- Using a breaker bar, remove the fastener(s) securing the caliper bracket to the knuckle (front brake) or axle carrier (back brake) and remove the caliper bracket.
Pro Tip
- If you are planning to replace the brake caliper, it is highly recommended that the banjo bolt attaching the brake hose to the caliper be loosened prior to removing the caliper from its mount. Loosening the banjo bolt with the caliper still attached allows for more leverage in case the bolt is overly tight or frozen in place.
- If reusing the caliper, tie the caliper up with a bungee chord or rubber snubber to prevent the caliper from hanging on the brake hose and causing damage to it.
If you are replacing brake rotors, proceed to Step 3. For installation of new components, proceed to Step 4.
(Related Article: Brake Pad Reviews - CamryForums.com)
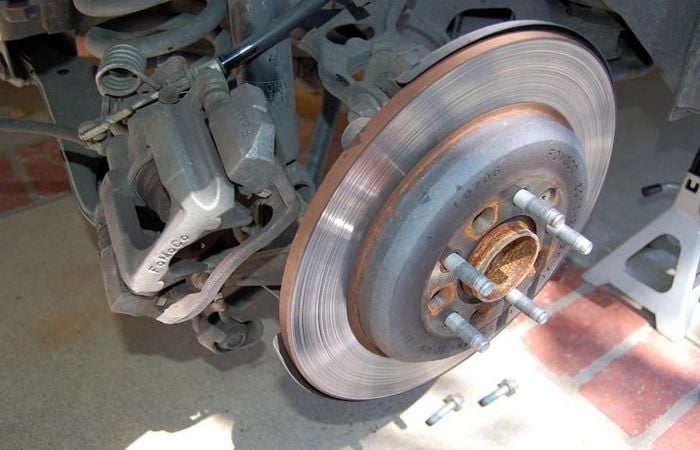
Step 3 – Remove brake rotor
- The brake rotor rests on the hub assembly and can usually be removed by grasping it at both sides and giving it a firm tug.
- In some instances the brake rotor will be rusted to the hub. A rubber mallet can be used to tap the brake rotor free. Similarly, the Camry's brake rotors have two small holes in the rotor hat for an 8mm bolt to thread in and push the rotor off of the hub. If using the bolt method, be sure to tighten the bolts evenly to prevent the rotor from binding.
Pro Tip
It may be necessary to loosen the parking brake shoes via the star wheel adjuster for rear brake rotor removal.
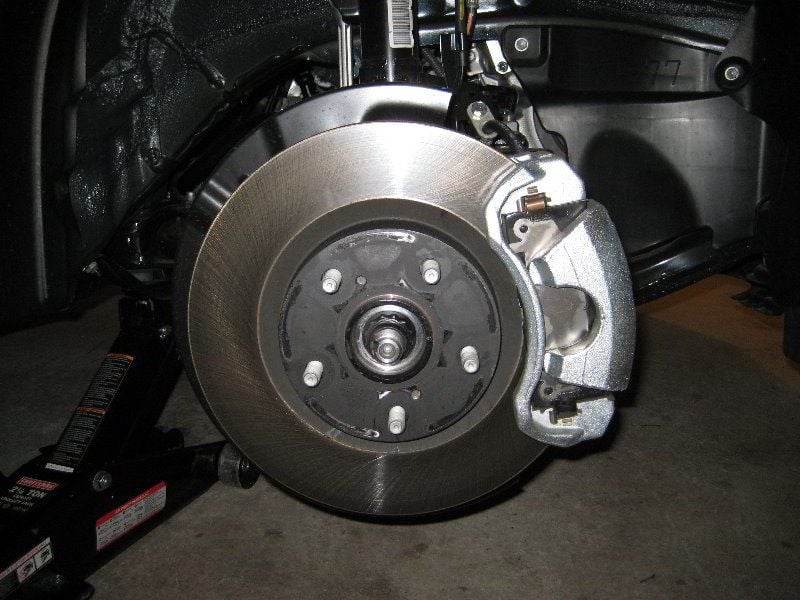
Step 4 – Install new brake components
Brake Rotor
- Before installing a new brake rotor, be sure the hub is free of rust and brake dust buildup. The use of a wire brush and brake parts cleaner can aid in cleanup. A clean hub will allow for the brake rotor to be properly seated against the hub.
- A new brake rotor will typically come coated in a light film of oil to prevent rusting. This oil must be removed prior to installation. Spray the rotor with brake cleaner or wipe down with a degreasing solvent, such as acetone.
- With the hub and rotor clean, slide the brake rotor into place. For the rear rotor, be sure the parking brake adjusting hole in the rotor hat aligns with the hole in the hub. Misalignment will prevent adjustment of the parking brake.
Pro Tip
A small amount of anti-seize paste can be applied to the hub to prevent the rotor from rusting to the hub assembly. This will allow for easy brake rotor removal in the future.
Brake Caliper and Pads
- If reusing the old brake caliper/caliper bracket, clean it with brake cleaner. Lubricate the caliper slide pins with a silicone-based grease, and be sure the rubber slide pins boots are in good condition and properly seated.
- Install the caliper bracket in place on the knuckle/axle carrier. Torque to approximately 75 ft/lbs for front caliper brackets, and 35 ft/lbs for rear caliper brackets.
- Slide the new brake pads into place between the rotor and caliper bracket. The metal wear indicators may need to be removed from the old brake pads and used on the new pads if the new pads do not include new wear indicators. Install the spring clips to secure the pads in place (if applicable for your vehicle).
- If reusing the old caliper, compress the caliper piston by using a c-clamp and an old brake pad. Position one end of the clamp on the backside of the caliper, and the other on the brake pad located over the caliper piston. Tighten the clamp until the piston is seated.
- Install the brake caliper in place over the new brake pads. Tighten the front caliper bolts to approximately 25 ft/lbs, and the rear caliper bolts to 15 ft/lbs.
- If a new brake caliper was installed, attach the brake hose to the caliper. Be sure to use new copper crush washers between the brake hose and banjo bolt. Torque to approximately 20 ft/lbs.
- If the rear brake rotors were replaced, adjustment of the parking brake is required. Turn the star-wheel adjuster until the brake shoes are tight and the rotor cannot be rotated. Next, loosen the star-wheel adjustment by one complete turn or seven to eight clicks. Repeat adjustment on the other side.
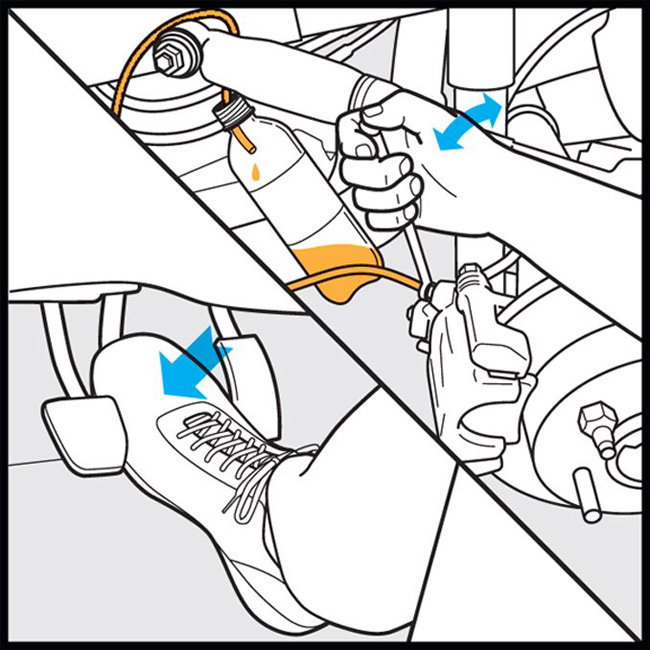
Step 5 – Bleed brakes
- If you have installed new brake calipers, brake bleeding is required to remove all residual air from the system to achieve proper brake operation. Similarly, it is a good idea to flush the brake system if your fluid is two or more years old.
- With the brake system bled, the wheels can be re-installed and the vehicle lowered off of the jack stands.
(Related Article: How to Flush Your Brakes - CamryForums.com)
Featured Video: How to Replace Brake Pads, Calipers, and Rotors on Toyota Camry
Related Discussions
- How to Remove Stuck Frozen Brake Rotors - CamryForums.com
- Brake Pedal Issues - CamryForums.com
- How do I know I Need to Replace Brake Pads? - CamryForums.com